Ok, another challenge for sew alongers and others happening over at
Winter Wonderings Wanderings and Whatnots. The challenge is to sew something for zero dollars. Luckily, I had just sorted out my younger daughters drawers and closet. I trashed the stained items and had a donate or sale box left in my closet. Now my girls need jackets for the upcoming cold weather. So I went through the top of the pile and found this:
When looking at it the size was a 24 months and my daughter has jumped to a 3T..almost a 4T depending on garment. Sew, I thought why not turn this into a pull-over polar fleece jacket by adding just a few inches? And that is just what I did.
First I cut the bottom legs off at about where the snaps start.
Then I compared it to a 3T size T-shirt to see how much I should add for a pull over.
After that, I made my plan of attack for cutting and altering. I knew it would probably be best to add a few inches underneath the arms on both sides to make the garment the width it needed to be.
Also, as you cut, ensure that you cut off the old serger/seam allowances. This helps form a new seam and not bulk the sides up with extra un-needed fabric.
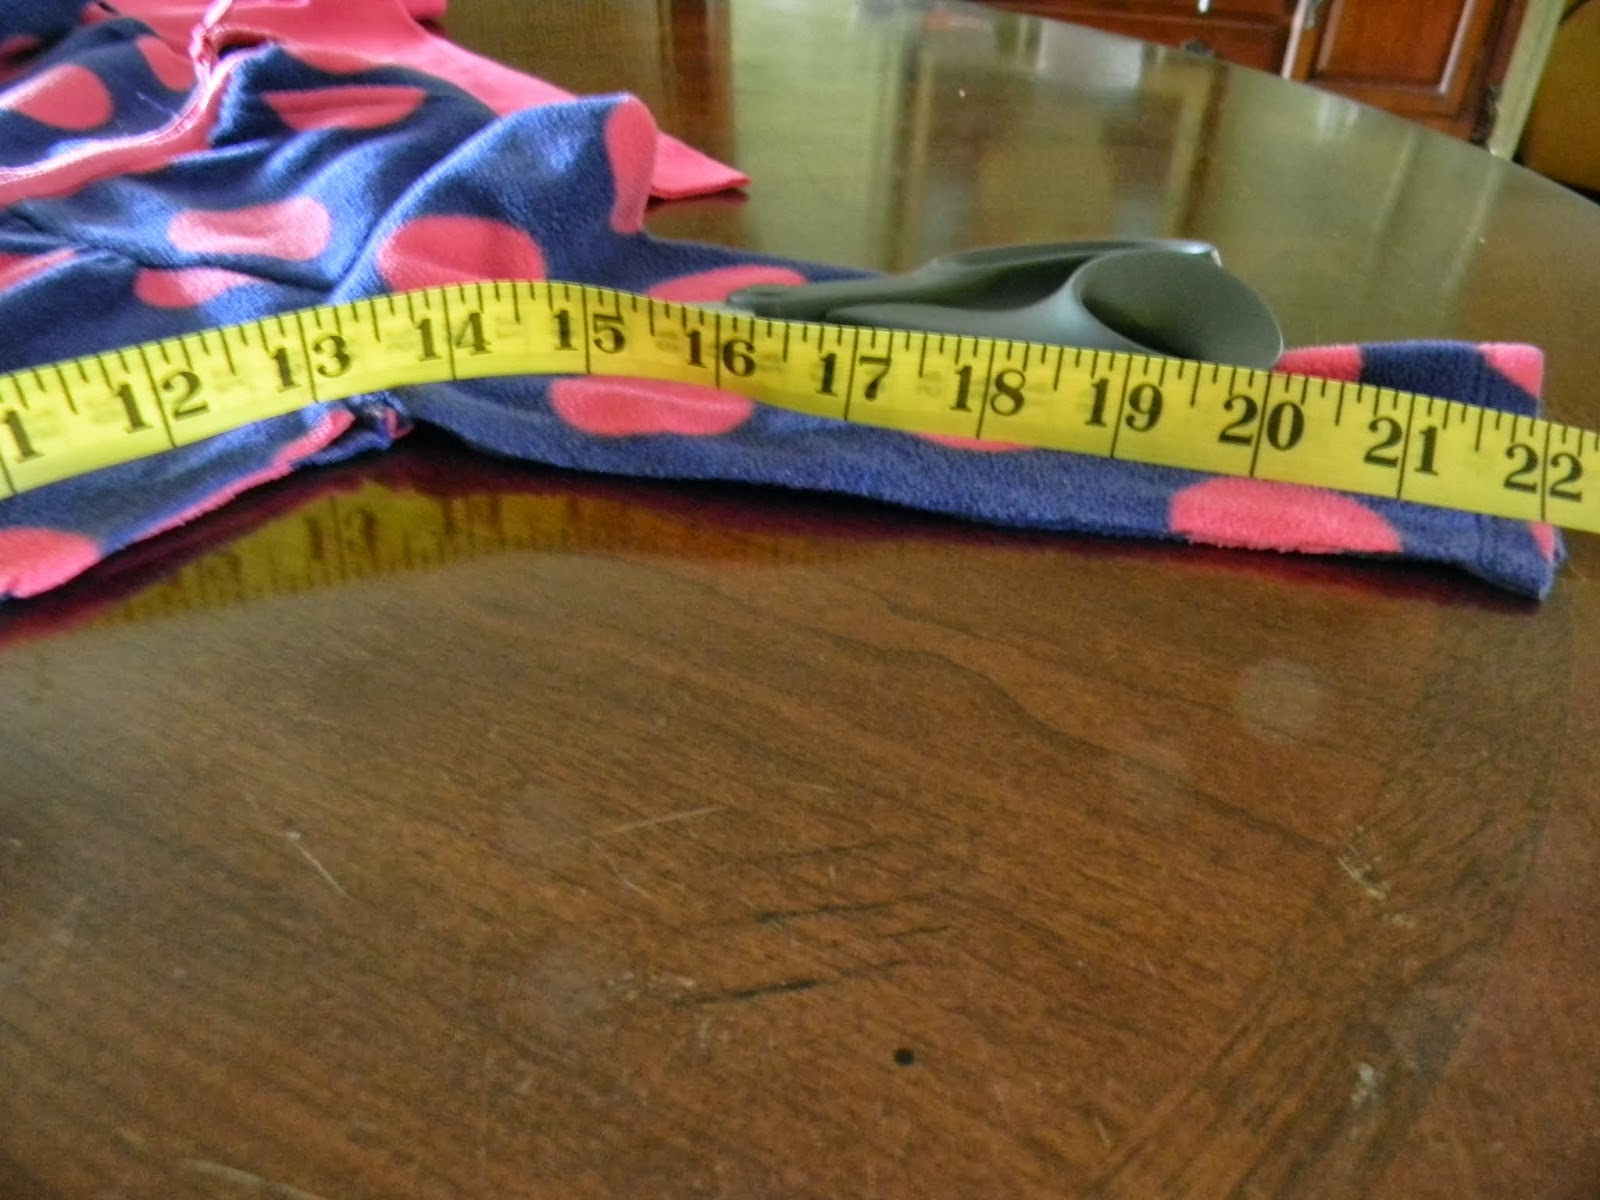
After you cut, place the garment back together and measure from the sleeve to the bottom of the pull over. Here is a picture. As you can see mine measured around 22" (inches).
This means that my new fabric to insert would need to be around 22". Here is a picture of my ruler next to the width of the new fabric. As you can see, folded in half, the knit I choose was right at 22"!!!
Next, you need to cut a piece the width you need to add to the pull-over. I wanted to add 4 inches on each side of mine and that included seam allowances.
After this you pin one side of the new knit fabric to the side of the old garment. (See pictures). Then you pin and stitch down one side from wrist to waist.
Repeat the above process for each sleeve (X3 more times). After stitching this new piece in place, your garment will look something like this:
Now, this looks pretty cute but for me I needed to add to the length of the sleeves since my daughter's arm length has grown too!! So I used material from the legs of the old sleeper and converted it to a smaller ruffle on each sleeve. (See the next few pictures)
Above: I cut the snap parts off of both legs to create enough material for ruffle.
Sew above you can see the finished sleeve with the ruffle attached and the side material on the side to add width. I also hemmed the sleeves and adjusted the bottom of the pull-over to the length it needed to be.
And here is the finished product!!!
Sew...do you have something you could make for ZERO?? If so, you might want to join the Flicker group on Winter Wonderings. Just follow the link above and get sewing!! I also have some more ideas with some other sleepers but I'll wait to share those at another time....stay tuned and come back Sew Hungry For More!! AKH


No comments:
Post a Comment