Ok, Ladies and Gents, here is the second part of the tutorial for my quilted dress. Sorry for the wait. The baby got sick, had Christmas presents to finish (which I will share on another posting) and well life just got in the way. But here it is....
In Part one you have the strips of the skirt sewn together.....except the last piece. It's time now to assemble the bodice for the dress. Now I like to make mine out of a knit so the child can easily slip it on and off. No buttons, zippers or linings to use. I do add ribbing to the t-shirt BUT in this case I could not find a knit color I liked at the fabric store. So, I thrifted a top at the Goodwill that matched perfectly AND I decided I would re-use the ribbing on the shirt so I could skip that step. (I will probably do I t-shirt from scratch with ribbing on another tutorial much later.)
Materials List:
- knit (or thrifted t-shirt)
- rotary mat
- a marking pen or sharpie
- the current t-shirt that fits to trace for a pattern
- scissors.
Time to Trace and Cut
First lets lay out the t-shirt....
Next, fold the t-shirt you are going to cut out with sides seams together and place the t-shirt you want to trace on top. Align the ribbing at the neck together if you want to re-use the ribbing.
Take your scissors and trace the bottom where you want a bodice piece to end...I usually fold up the t-shirt to a desired length. Take your finger and trace the side seams..mark with marker and cut. Take your fingers and flatten seam for shoulder, trace with marker and cut.
Now repeat these steps for the back bodice piece. Lay on back fold, trace and cut. This will give you both your bodice pieces as shown below.
For the sleeves, I reuse the old sleeves and trim them down. This is done by taking the thrifted t=shirt and cutting out the sleeves.
From this point I find it easier to lay the thrifted t-shirt on top of the child's t-shirt and trace (with a seam allowance of 1/2" allowed) with a sharpie marker. Then lay this sleeve on top the other one to cut both the same as shown in the picture below.
So now you have your bodice front, bodice back and sleeves ready to assemble.
Shown above are all the pieces. If you noticed I also re-used the bottom of the old pink t-shirt for some more strips. This is to be used for a ruffle or band at the bottom of the skirt. I have also added a reverse applique to the bodice front. (not sure if I will do that tutorial later or not.)
Time to Sew!!!
Now place the bodice front to back, right sides together and sew the shoulder sleeves together. Then serge if you have a serger or finish the raw edges in your desired manner. Take the sleeves and run a gathering stitch along the shoulder seam. Again with right sides together attach the sleeves to the bodice piece...gathering as needed and pinning to keep in place. A picture is below for reference. (One sleeve is already sewn, the other is pinned.
Here is a picture of the bodice after sleeves have been set in on both shoulders. Now flip this allowing bodice front (right side) to meet bodice back (right side)...align the side seams and under arm seams..pin, sew and serge. This will allow you to finish your bodice.
Attaching the skirt!
Next, gather the skirt with two rows of gathering stitches leaving room for the last seam. Sew the skirt together. Place bodice right sides to right sides of skirt. Pin side seams and then gather the skirt as needed to fit the bodice. Pin as you go. Check to ensure the gathers are even and look right. Stitch. (Pictured below is the gathering shown after stitching.) Then serge or finish the raw edges so they will not fray.
Lastly, I took the three pink t-shirt rows shown in a picture above, cut them apart on one side and sewed them back to back. I pleated them (you could also gather them) and then pinned it right sides together to the bottom of the skirt. Also for finishing touches I decided to pleat and add a ruffle to the bottom of the sleeves in the same manner as the bottom of the skirt. You could also just fold up the sleeves and hem or fold up and add elastic in a casing to give a different look. Below is a picture of the finished dress.
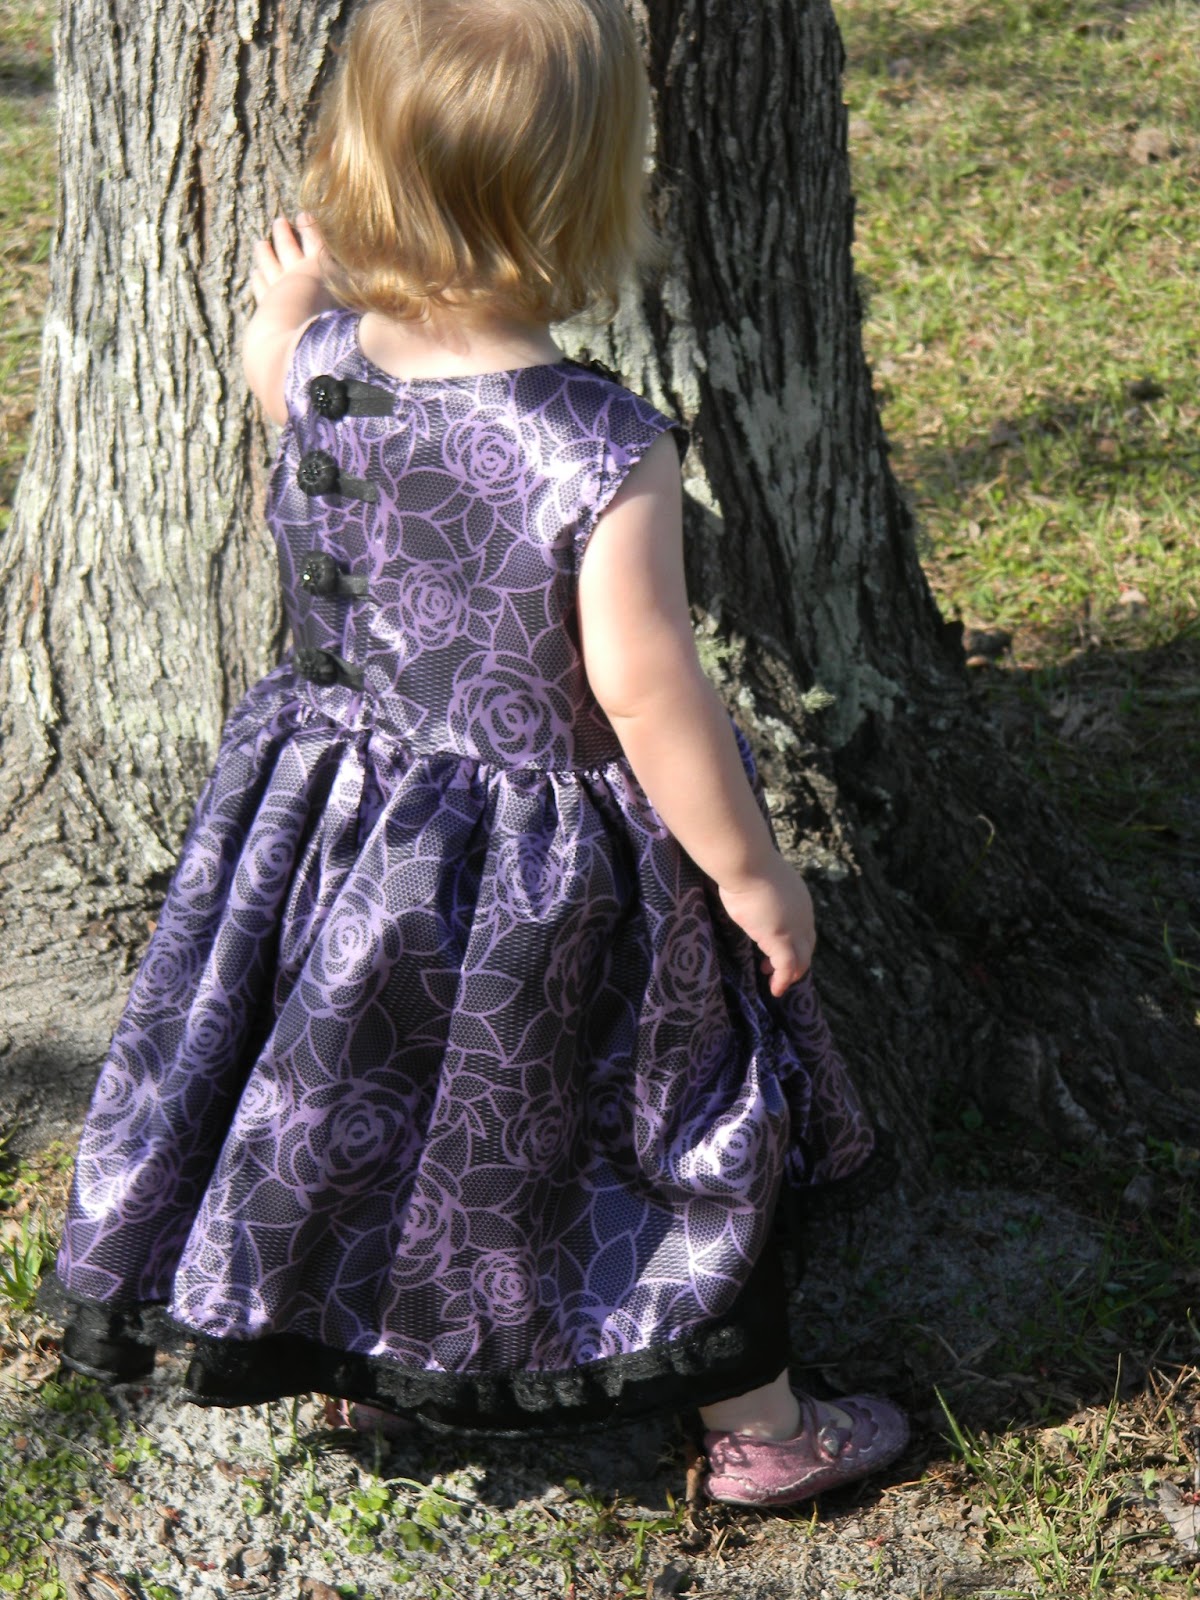
So now you have it. The quilted dress. I will have my little one in it soon to add some modeling pictures. This is a spring dress and right now it's 50 degrees in Florida! I think I'll wait for a warmer day to do the modeling.
Happy Sewing and get ready for some more tutorials...stay sew hungry for more!!!
AKH.